How To Add Cubic Zirconias To Your Bead
 by Tracy Jerrell-Akhtar
A lampwork bead tutorial for the technique of adding sparkling CZ’s to your glass.
I didn’t invent adding CZ’s to glass and it’s pretty common knowledge.
But if you’re just starting out or haven’t gotten around to adding CZ’s to your work yet, this tutorial with photos may help.
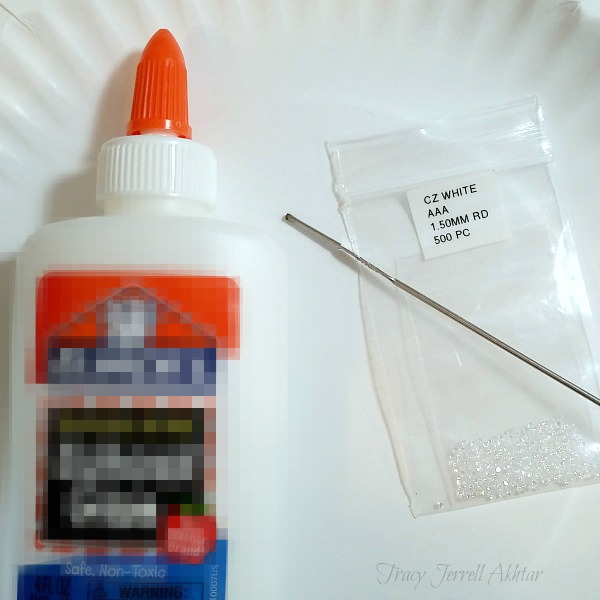
Supplies:
Paper plate
Glue-any basic school-type white glue
Steel mandrels with a flat end
CZ’s (around 1.5 or 2mm)
Container filled with sand (or whatever you use to hold your mandrels).
I use small to medium vases filled with decorative sand to hold my mandrels.
I also came back to add to this, safety glasses are an option in case you get overzealous with pushing on a CZ. A sparkling CZ in your eye would probably look pretty, but… ouch.
- I haven’t used CZ’s over 2mm because I heard if you go larger the bead will crack.
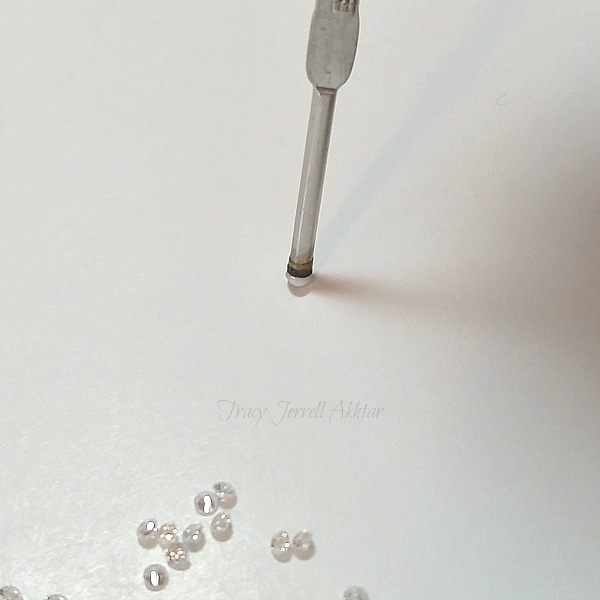
Step 1– Squirt a small amount of glue on one side of your paper plate and pour your CZ’s out on the opposite side. Your CZ’s need to have the top or flat side facing up. Of course they won’t all be like this, so as I run out of CZ’s facing the proper direction, I tap my finger on the plate to make them jump a bit and flip over to the correct side. I suppose I should have added “magnifying glass” to the list of supplies, but I just stick my face right down to the plate and look.
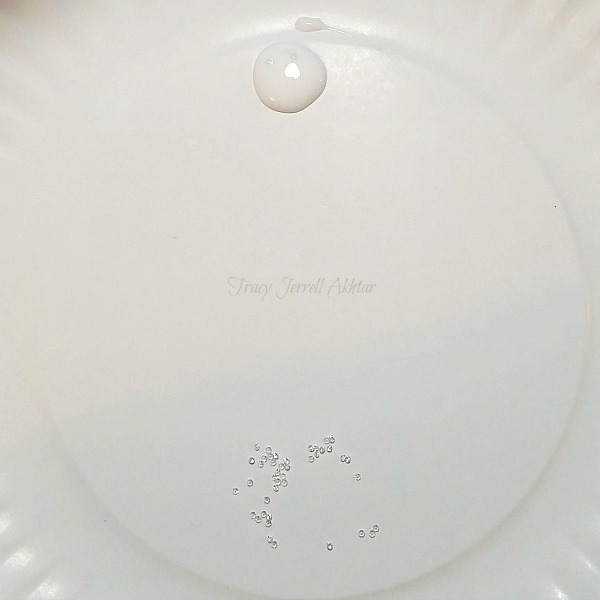
- Keep your glue and CZ’s on the opposite sides, so as you tap the plate to flip the CZ’s over, they don’t land in your glue.
Step 2 – Dip the tip of your mandrel lightly into the glue. Lightly. You don’t need much for the CZ to stick and if you apply too much glue, it can slide right off the flat surface and down the side of your mandrel. I use 1/16 mandrels that I purchased at the local welding supply shop and cut myself. Actually I cut the first few, it made my hands hurt and so my dear father cut the rest. The ends of these rods, which are already flat, had a stamped piece which I didn’t like for bead making mandrels. Instead of snipping and tossing, I kept those specifically for applying CZ’s.
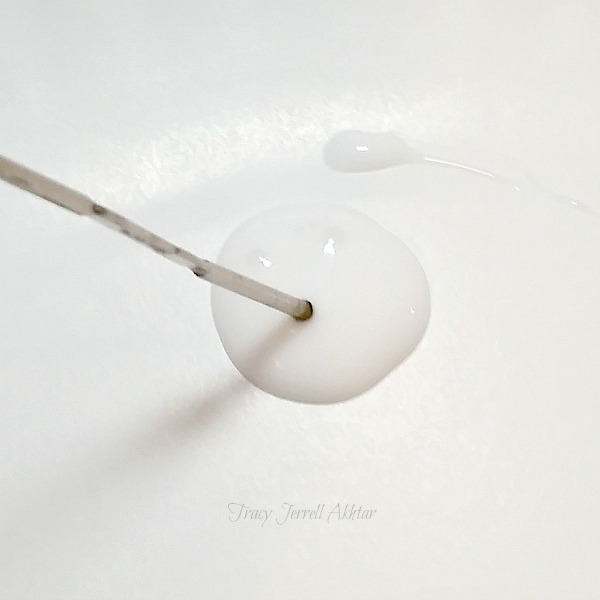
- Just touch the tip of the rod to the glue, you don’t need to push it in.
- This is too much glue. Your CZ will probably float right off the top and hang weirdly to the side.
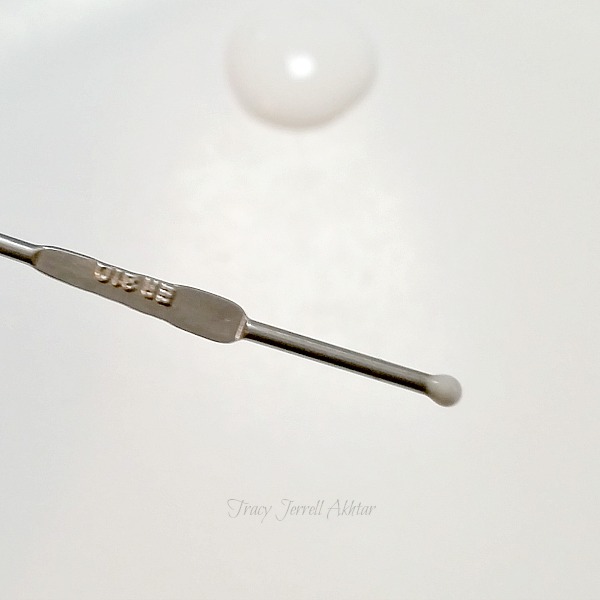
Step 3 – Now you touch the tip of your mandrel, with the tiny bit of glue on it, to the top of a CZ. I’ve always been horribly nearsighted, with astigmatism and as I’ve “matured” I can now add presbyopia to the mix. My eye doctor happily explained that presbyopia meant “old eyes”. So anyway, I have to put my face right down to the plate to see what I’m doing. My point? Don’t feel bad if you do it that way too, I think it’s easier than messing with magnifiers.
- Touch the tip of your mandrel to the CZ and apply gentle pressure to make sure it adheres. If your CZ goes flying across the room and blinds someone, you pressed too hard.
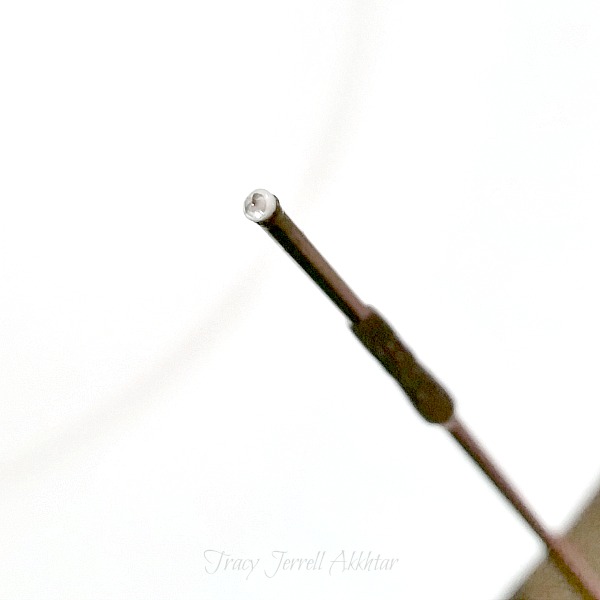
- If you didn’t apply too much glue, it should stick to the end just like this.
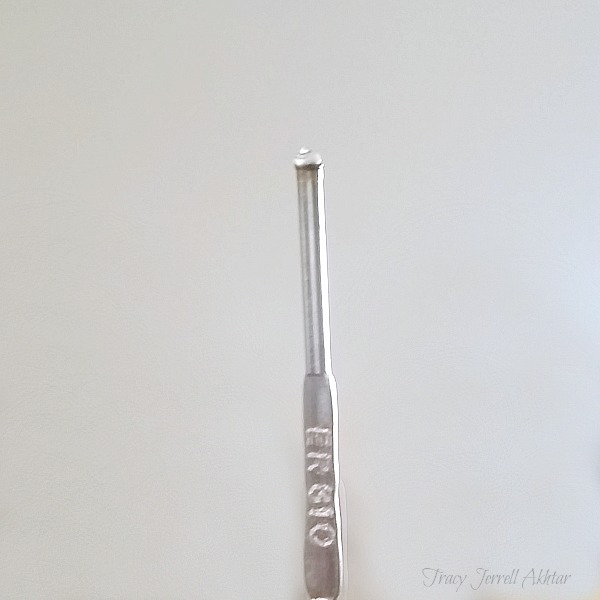
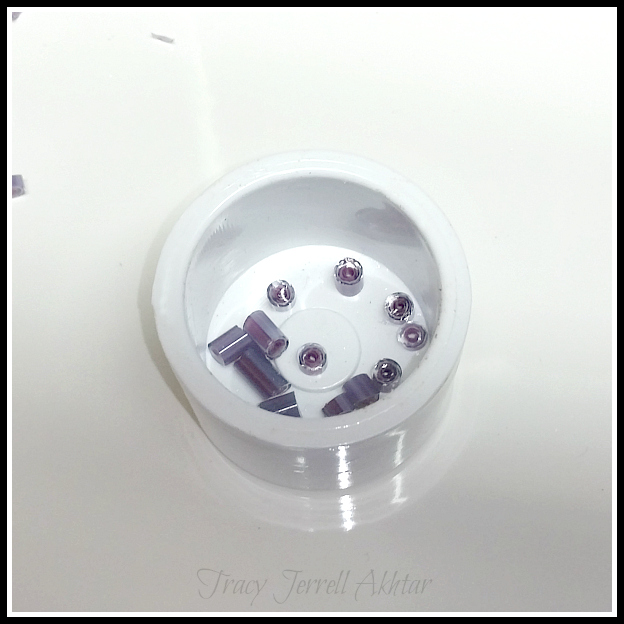
- Now place in your holder to dry so it’s sticking straight up.
Now the pointy end of your CZ is facing up, ready to be poked into a bead. The glue burns right off after you stick the CZ into the bead. I spot-heat my bead where I want the CZ and poke it into the molten glass. You just have to practice how deep to push it in. Not enough and the CZ will pop back out. Too deep and it can get buried. If you want to be safe, cover it with a dot of clear glass, I do it both ways.
I’ve found it’s important to reheat your bead to avoid cracks around the CZ. I know, you just heated the glass where you placed the CZ, but I always apply some heat to the CZ again before placing my bead into the kiln… inclusions add stress to your glass.
I add my CZ’s as the last step in bead production. If you plan on leaving your CZ uncovered and flubbed up the insertion, not getting it in deep enough, just spot-heat that area again and gently push the CZ deeper into the glass with the end of your mandrel.
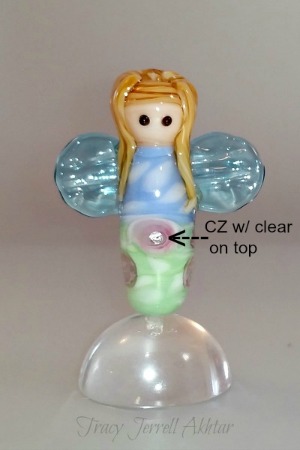
- CZ covered with a dot of transparent glass. Still sparkles!

- Uncovered CZ.
After I take my beads out of the kiln and clean them, I pick at the edges of my uncovered CZ’s with a fingernail to make sure they’re secure. That’s it! All done! Fini!
I hope this tutorial has helped you with the process of adding CZ’s to your lampwork beads. There are other methods to add cubic zirconia, but this is the technique that works best for me.
** Feel free to share on pinterest, link back to it or print this tutorial for your personal use. The copyright of the actual tutorial (not the technique) and photos belong to me. Thank you.
 What I use is a pvc end cap (about 2 inches wide) and wheeled glass nippers.
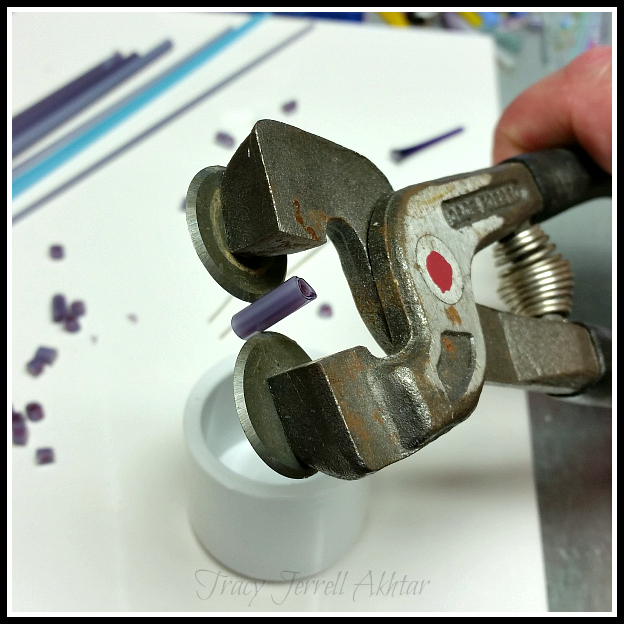

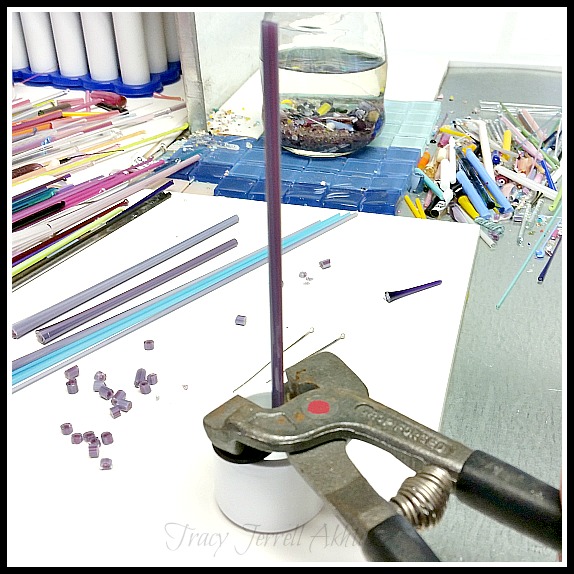
 These were cut pretty short. I just lay them on my workbench tile, spot heat my bead and press my bead onto the murrini so it sticks. I can get away with doing it like that when they’re small, larger diameters would probably crack.

